
Walking to school: reflective gear, a practised route
15/10/2026
A calm walk to school: where reflective gear goes, how to practise the route step by step and how to tell your child is ready to go alone.
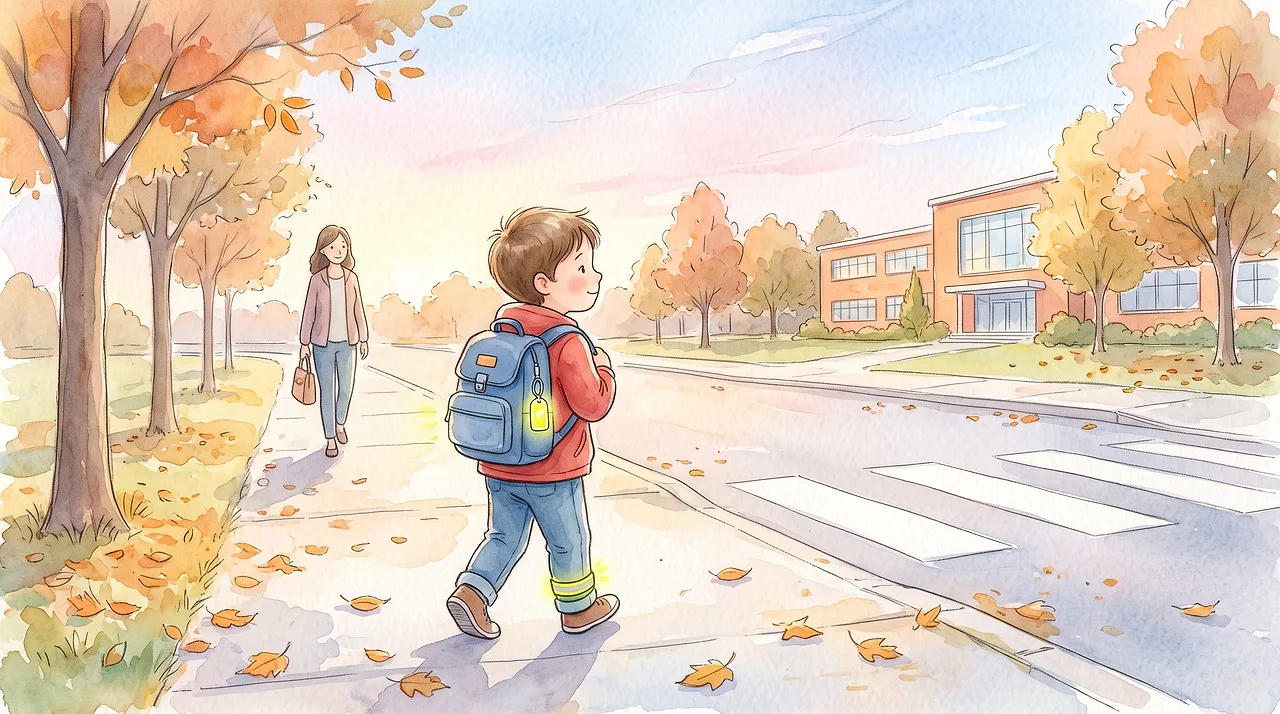
A safe walk to school comes down to three things: your child can be seen (reflective gear on the side facing the traffic and at headlight height), knows one fixed route they have walked with you many times, and knows what to do if something goes wrong. Age alone is a poor guide to when they can go on their own. You can let them go once they have led you along the route without a mistake several times in a row — while you simply walk behind and say nothing.
When to let your child walk to school alone
There is no magic age at which a child is ready to walk without an adult. It is the parent's call, and the responsibility that comes with it. The school or after-school care will usually just want to know in writing whether your child leaves on their own or is picked up — without that note, staff won't let them go by themselves.
That is why age is the wrong yardstick. It is better to ask about specific skills. Does your child stop at the kerb on their own, even mid-conversation? Do they look right, left and right again, or just turn their head? Do they know what to do when the pedestrian light is green but a car is still coming? Can they say no to a friendly adult who offers them a lift?
A realistic look at the route helps too. A five-minute walk along a quiet street with a footpath is something a child in their first year of school can manage much sooner than twenty minutes that include crossing a four-lane road with no lights. Younger children are worse at judging how fast a car is approaching, and a friend on the other side of the street easily distracts them. So it pays to start with a shorter stretch and build independence bit by bit, rather than all at once on the first day of the school year in late January or February.
Reflective gear for the walk to school: what and where
| Item | Where to put it | What to watch for |
|---|---|---|
| Reflective band (slap-on) | On the wrist or ankle on the side facing the road | The ankle shows up best — it moves and sits at dipped-headlight height |
| School bag tag | On the lower part of the bag, not the top handle | If it hangs high behind the back, a driver coming towards your child won't see it |
| Reflective strips on the school bag | Check the back and both sides | They are often only on the back and missing from the side your child crosses from |
| Hi-vis vest | Over the jacket, especially on stretches with no footpath or street lights | A vest under an open jacket or in the school bag does nothing |
| Jacket or shoes with reflective stripes | Stripes on the sleeves and heels | They fade after a few washes — check them with a torch once a season |
| Light-coloured clothing | Overall | Helps at dusk, but is no substitute for reflective gear in the dark |
Why reflective gear belongs on the road side
Reflective material doesn't glow by itself; it just sends light back to where it came from — the driver. So it only works where a car's headlights reach: low down and on the side of the body. A tag tucked behind the back or high on the shoulder looks nice, but a driver heading towards your child will barely see it. A pedestrian in dark clothes is noticed only at the last moment, while reflective gear can be picked up from much further away.
Rules on reflective gear for pedestrians vary from place to place, and for a walk to school along lit streets it is rarely compulsory. But on winter mornings children often set off at dawn or in the dark, and the difference in visibility is just the same. The simplest rule for a child: reflective gear is like a hat — in winter, you don't leave home without it.
Try it together: one evening, shine a torch at the school bag and jacket from a distance. Whatever lights up is working. Whatever stays dark needs adding or moving.
How to practise the route to school step by step
- 1Pick one route, not the shortestThe safest way is usually the one with a signalised crossing or a crossing supervisor, even if it takes a few minutes longer. Your child should always walk the same way — shortcuts only once you say so.
- 2Walk it at the time they will really goAt eight in the morning the street looks different from a Saturday afternoon: cars reversing outside the school, the garbage truck, vans parked by the crossing. Practise in real traffic.
- 3Name landmarks togetherThe bakery, the yellow house, the fountain. Children don't remember street names, but they do remember "turn left at the fountain". Use the same landmarks yourself when you ask where something happened.
- 4You lead, your child talks it throughFor a few days you go first and your child says out loud what you are doing and why: "We're stopping here because that car is reversing." Saying it fixes the steps in their mind better than listening.
- 5Your child leads, you stay quietNow swap roles. Your child decides when to cross; you walk a step behind and don't step in unless there is real danger. Talk through any mistakes at home, not on the footpath.
- 6Follow from a distanceWalk twenty metres behind your child, or on the other side of the street. Once they have led you along the route without a mistake several times in a row, they are ready for their first walk alone.
- 7First walks alone — a short stretchStart with the last bit: walk them to the corner where they can already see the school. Only lengthen the solo stretch once they handle the previous one with confidence.
Danger spots adults overlook
- Parked cars near a crossingAn adult can see over them, a child can't — and the driver can't see the child. Teach them to stop at the edge of the parked car and only look from there.
- Driveways and garage entrancesThe footpath across a driveway looks like any other footpath, but cars back out of it and the driver is watching the road, not the footpath.
- Around the school in the morningParents stopping "just for a sec", cars doing U-turns, doors swinging open onto the footpath. Ironically, the riskiest spot on the whole route.
- Bus stopsCrossing in front of a stopped bus or right behind it is dangerous, because your child and drivers coming the other way can't see each other. Have them wait until the bus has gone.
- A green pedestrian lightGreen doesn't mean the car will stop. A turning driver has to give way to pedestrians, but your child still needs to make sure the driver has actually seen them.
Agreements your child will remember
Phone, smartwatch, bike and bus
Being able to reach you mostly calms you down; it doesn't replace your child's own independence. A phone in hand at a crossing is more of a risk than a help — agree that it only comes out on the way in an emergency. A kids' smartwatch with calling has the advantage that children don't treat it like a screen full of games; what to look out for is covered in Smartwatches for kids: a gift that brings responsibility.
On a bike or scooter, different rules apply than for pedestrians, and they depend on where you live — check the local road rules before your child rides to school. A child in their first year of school shouldn't be riding on the road alone, and a well-fitted helmet belongs on every ride.
Practise the bus trip the same way as the walk: where to get on, how many stops, when to press the button and what to do if they miss their stop. The answer should always be the same — get off at the next one and call you.
Starting school — whether it is called Kindergarten, Prep, Reception, Pre-primary or Transition where you live — is a big change for a child even without walking alone. What helps new school starters handle their worries is in A gift for a school starter: based on what they fear and look forward to. Some children get used to a new situation best through a story they appear in themselves — in a personalised book, the hero looks like your child from their photo and carries their name.
Sources
- ABC Kids listen — Free ABC audio service for children up to about five, with Story Time and music.